
Thermo Fisher Phenom Scanning Electron Microscopes (SEM)
Overview
The Breakerspace has two scanning electron microscopes (SEM): a Thermo Fisher Phenom XL and a Thermo Fisher Phenom Pure.
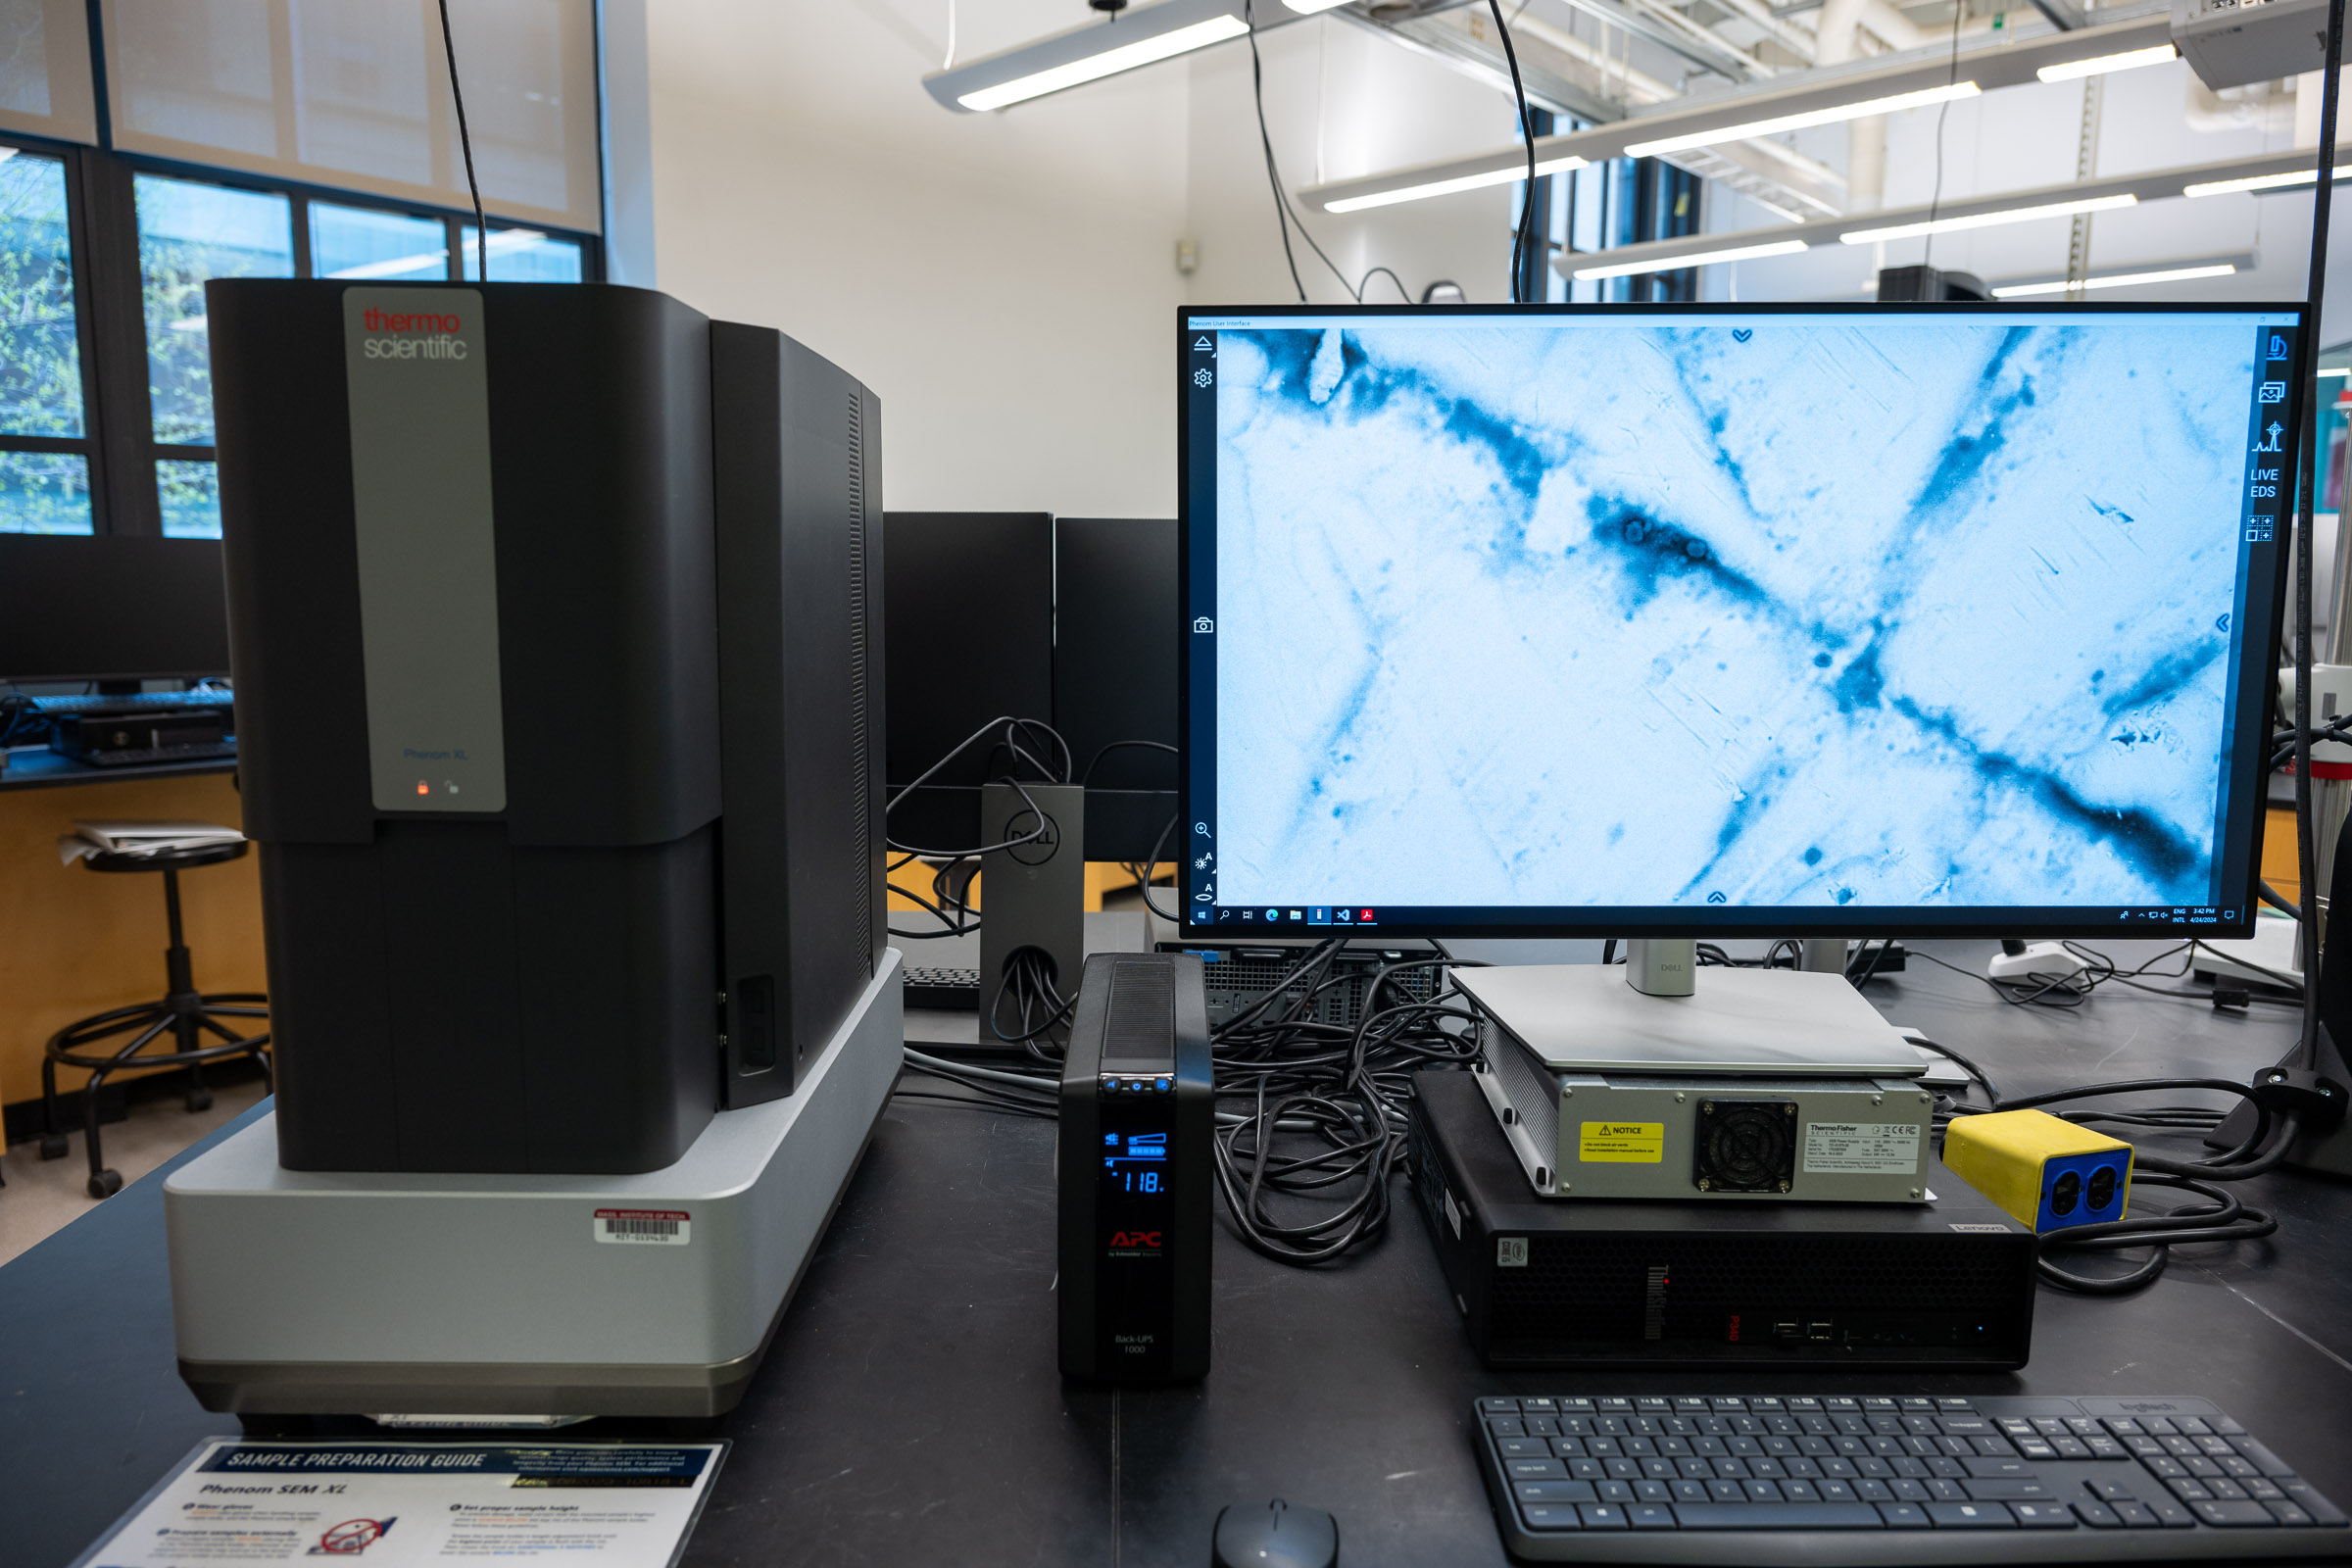
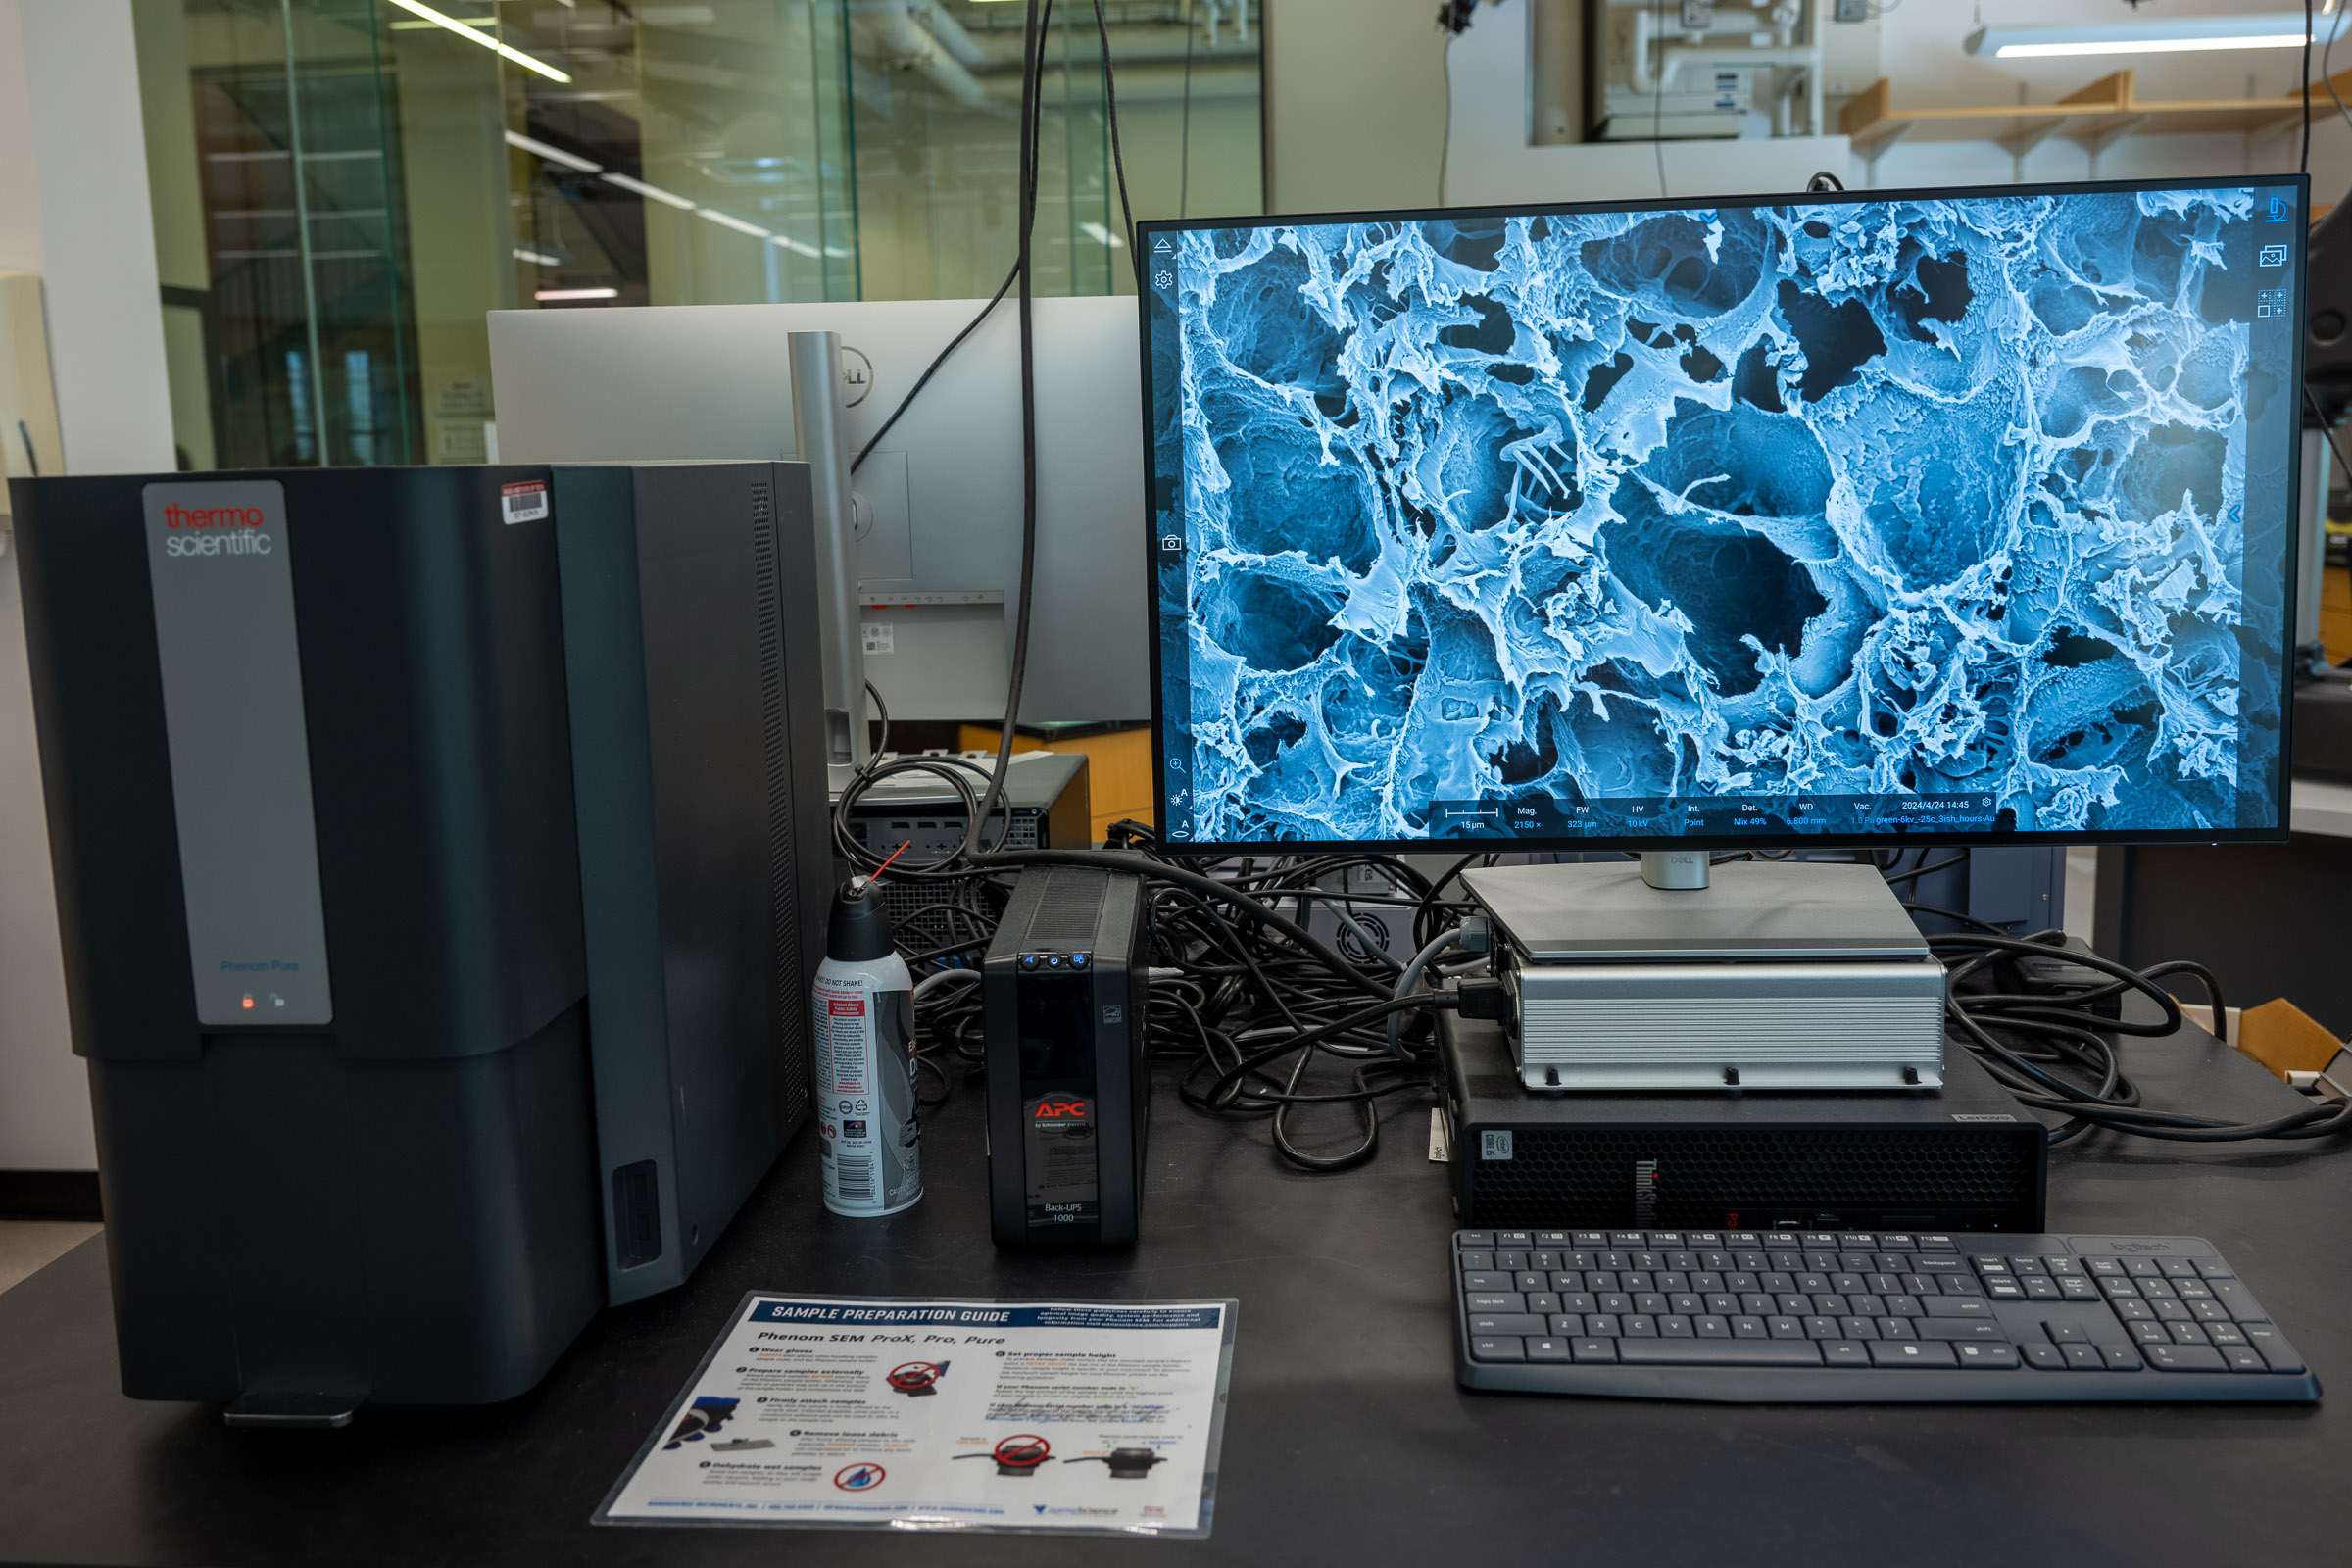
SEMs use a focused beam of electrons to image materials at much higher magnification than can be achieved with an optical microscope. In good conditions, the Phenom instruments can resolve features on the order of 100 nm.
This page is the shared SEM hub. Use it to choose an instrument, review common SEM sample-prep concepts, and find training or reservation links. For instrument operation, use the page for the SEM you are physically using:
Quick Actions
Get started
Learn and reference
What This Instrument Shows You
The Basic Idea
A scanning electron microscope uses electrons instead of visible light to make an image. The instrument sends a narrow beam of electrons across the sample surface, point by point, and detectors record signals that come back from each location. Software turns those signals into an image.
Because electrons have much shorter wavelengths than visible light, SEM can reveal much smaller surface features than an optical microscope can. The Phenom SEMs can often show features down to the scale of hundreds of nanometers when the sample is prepared well. That is small enough to see details such as fine fibers, pores, particles, coatings, scratches, grains, and fracture textures that may be invisible or blurry in a light microscope.
SEM images are usually grayscale because they are not ordinary color photographs. Brightness often comes from surface shape, edges, detector angle, and material contrast. On the Phenom XL, EDS adds another kind of information: when the electron beam hits the sample, some atoms emit X-rays with energies that can be used to estimate which elements are present.
What Scientists Use It For
- A biologist might examine the surface of pollen, insect parts, fibers, shells, or tissue scaffolds to understand shape and texture at a scale smaller than ordinary microscopy.
- A mechanical engineer might inspect a fracture surface, worn part, coating, or printed component to ask how damage started and whether failure was brittle, ductile, layered, porous, or contaminated.
- A materials scientist might compare metals, ceramics, polymers, composites, powders, or coatings to look for grains, pores, cracks, particles, phases, or preparation artifacts.
- A chemist or environmental scientist might use SEM and EDS to compare particles, residues, filters, sediments, or corrosion products and ask whether different regions have different elemental signatures.
- A student exploring an unfamiliar sample might start with the optical microscope, then use SEM when the next question is about smaller surface details, fine particles, or elemental contrast.
What To Look For In The Results
In an SEM image, look first for scale, shape, and texture. Ask whether features are smooth or rough, isolated or connected, rounded or sharp, layered or porous, and whether the same pattern repeats across the sample.
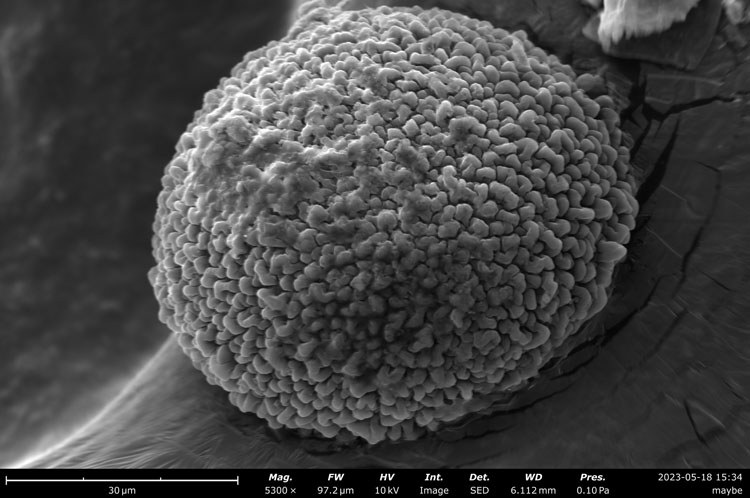
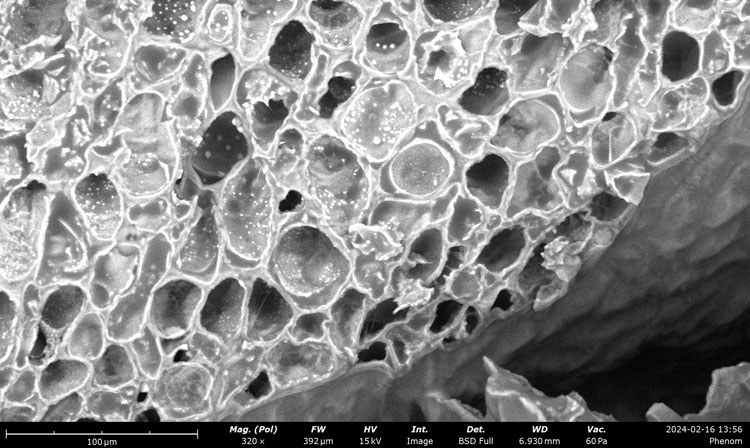
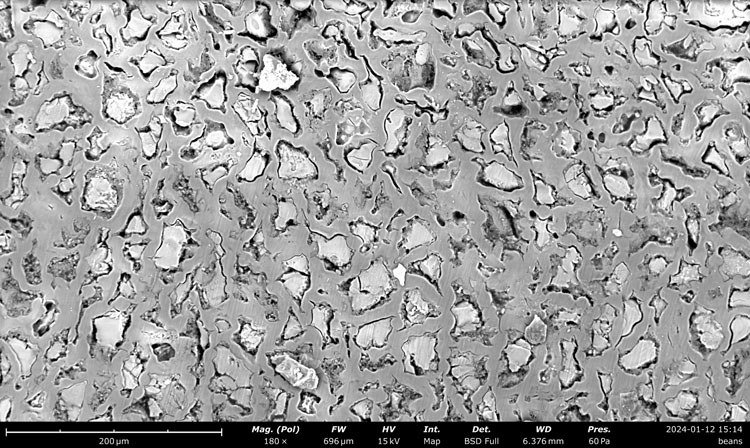
Edges and steep surfaces often look bright because they send more signal toward the detector. Holes, deep pores, and shadowed regions can look dark. In backscattered-electron images, heavier elements often appear brighter than lighter elements, so two regions with similar shape may still show contrast if their composition differs.
For EDS results, look for patterns rather than just labels. A useful EDS map might show that one element is concentrated in particles, another in the surrounding matrix, or a coating on only one side of a feature. EDS is most powerful when you compare it with the SEM image and with what you know about the sample.
What This Instrument Cannot Tell You
- SEM mainly shows surfaces. It cannot see through an opaque sample unless a cross section is exposed.
- Most SEM samples must be dry, stable, and compatible with vacuum. Wet, loose, volatile, magnetic, or beam-sensitive samples need special care.
- SEM images are not natural-color photographs. Color may be added later for presentation, but the instrument signal is usually grayscale.
- EDS estimates elements, not molecules or crystal structure. It may miss light elements, confuse overlapping peaks, or include signal from coatings, tape, stubs, or nearby regions.
- Sample preparation can change what you see. Polishing, cutting, coating, drying, or mounting can create artifacts as well as reveal real structure.
SEM users must complete Breakerspace lab training and SEM-specific training before working independently. If your sample is hazardous, wet, very magnetic, loose, reactive, biological, vacuum-sensitive, or otherwise unusual, ask staff before bringing it to the lab.
Interactive SEM Chooser
Use this quick chooser if you are not sure which SEM to reserve. The recommendation is a starting point; ask staff if your sample is unusual or the result seems ambiguous.
Choose An SEM
| Use case | Recommended instrument | Notes |
|---|---|---|
| Large samples, multiple stubs, or awkward geometry | Phenom XL | Stage accepts samples up to 100 mm x 100 mm x 35 mm. Confirm height before loading. |
| Elemental analysis | Phenom XL | Use EDS for spot checks, maps, reports, and CSV exports. |
| Fast imaging of ordinary dry samples | Phenom XL or Phenom Pure | Choose based on availability and holder compatibility. |
| Frozen, wet, or beam-sensitive samples | Phenom Pure | Use the temperature-controlled cold stage after staff-approved sample prep. |
| One small mounted stub | Phenom Pure | Useful for straightforward imaging when EDS is not needed. |
| Non-conductive samples | Phenom XL or Phenom Pure | Use low vacuum, sputter coating, or conductive mounting depending on the goal. |
Compatible Materials And Shared Sample Rules
- Samples must be non-hazardous and safe to handle in the Breakerspace.
- Samples must be dry, except for samples intentionally frozen on an approved cold stage.
- Samples must be firmly attached to a stub or approved holder.
- Samples must be free of loose particles. After mounting, gently tap or blow the sample with compressed air away from the microscope and electronics.
- Non-conductive samples can be viewed in low-vacuum mode, sputter coated, or connected to the stub with conductive tape/paint.
- Wear nitrile gloves when handling samples, stubs, sample holders, stages, and sample-prep tools.
- Remove gloves before using the computer keyboard, mouse, or touchscreen.
If you have any questions about whether a material is appropriate to characterize in the Breakerspace, please ask before bringing it to the lab.
Sample Prep At A Glance
| Sample type | Fast prep | Notes |
|---|---|---|
| Conductive solid | Carbon pad, conductive tape, silver paint, graphite paint, or clamp | Make sure the feature of interest is near the highest point and the sample is grounded. |
| Non-conductive solid | Low vacuum, sputter coating, or conductive bridge to the stub | Low vacuum is non-destructive but lower resolution; coating improves imaging but changes the surface. |
| Powder or particles | Sparse layer on carbon pad, then tap and blow off loose material | Avoid thick piles and overlapping particles, especially for size/shape measurements. |
| Wet, moist, or biological | Dry, critical-point dry, use a very small amount in low vacuum, or freeze on an approved cold stage | Wet samples can outgas and damage the microscope if not prepared correctly. |
| Beam-sensitive polymer/organic sample | Lower voltage/current, lower magnification, shorter dwell time, cooling, or light coating | Watch for cracking, melting, boiling, drift, or image changes over time. |
| Magnetic sample | Mount very securely and use longer working distance if needed | Magnetic samples can distort focus/stigmation and, if loose, can be pulled from the stub. |
For EDS samples on the Phenom XL, prefer conductive mounting and avoid coating materials that interfere with the elements of interest. Gold coating is excellent for imaging but can complicate EDS; carbon coating is often better for inorganic EDS.
Quick Imaging Settings
| Goal | Starting settings | Watch for |
|---|---|---|
| General imaging | 10 kV, Image intensity, auto brightness/contrast, manual or auto focus | Good balance of resolution, speed, and sample tolerance. |
| Surface-sensitive imaging | 5 kV, Low or Image intensity | Useful for residues, stains, coatings, and beam-sensitive surfaces. |
| Non-conductive sample | Low vacuum, sputter coating, or conductive tape/paint | Charging appears as brightening, drift, distortion, or loss of detail. |
| High-quality image capture | Start with default acquisition, then increase resolution/averaging only if stable | Long acquisitions magnify drift, charging, vibration, and beam damage. |
Shared Sample Preparation Details
SEM sample preparation has two goals: protect the microscope and make the sample electrically and mechanically stable enough to image. The most common preventable SEM problems are loose debris, incorrect height, poor grounding, wet samples, and over-prepared samples that no longer show the surface you wanted to study.
Basic Solid Samples
- Place a clean bare stub in a sample prep tray.
- Attach a double-sided carbon pad or another approved adhesive.
- Attach the sample firmly to the pad.
- If useful, add conductive tape, conductive paint, or graphite/silver paint to connect the sample surface to the metal stub.
- Use stub tweezers to hold the stub, then gently tap and blow with compressed air to remove loose particles.
- Confirm the sample is not taller than the instrument-specific height limit before loading.
Do not prepare samples inside an SEM sample holder. Loose particles can fall into the holder or loading area and later contaminate the detector, chamber, or column.
Powder And Particle Samples
Powders should be sparse, well attached, and mostly one layer thick.
- Attach a carbon pad to a clean stub.
- Pick up a very small amount of powder with a toothpick, spatula, or tweezers.
- Gently brush or flick particles onto the exposed carbon pad.
- Press particles lightly into the adhesive if needed.
- Hold the stub with stub tweezers, tap the side of the stub, then blow with compressed air to remove loose grains.
If you care about particle size or shape, thick piles are a problem because particles overlap and hide each other. Use less material than feels natural; SEM needs a visible population of particles, not a mound.
Non-Conductive Samples
Non-conductive samples can charge under the electron beam. Charging often appears as a region that gets brighter over time, streaks, distorted features, drifting image position, or a field of view that washes out to white.
You have three main options:
- Low vacuum: fastest and non-destructive. Useful for paper, polymers, ceramics, many organics, and samples where coating is not acceptable. Resolution and signal-to-noise will usually be worse than high vacuum.
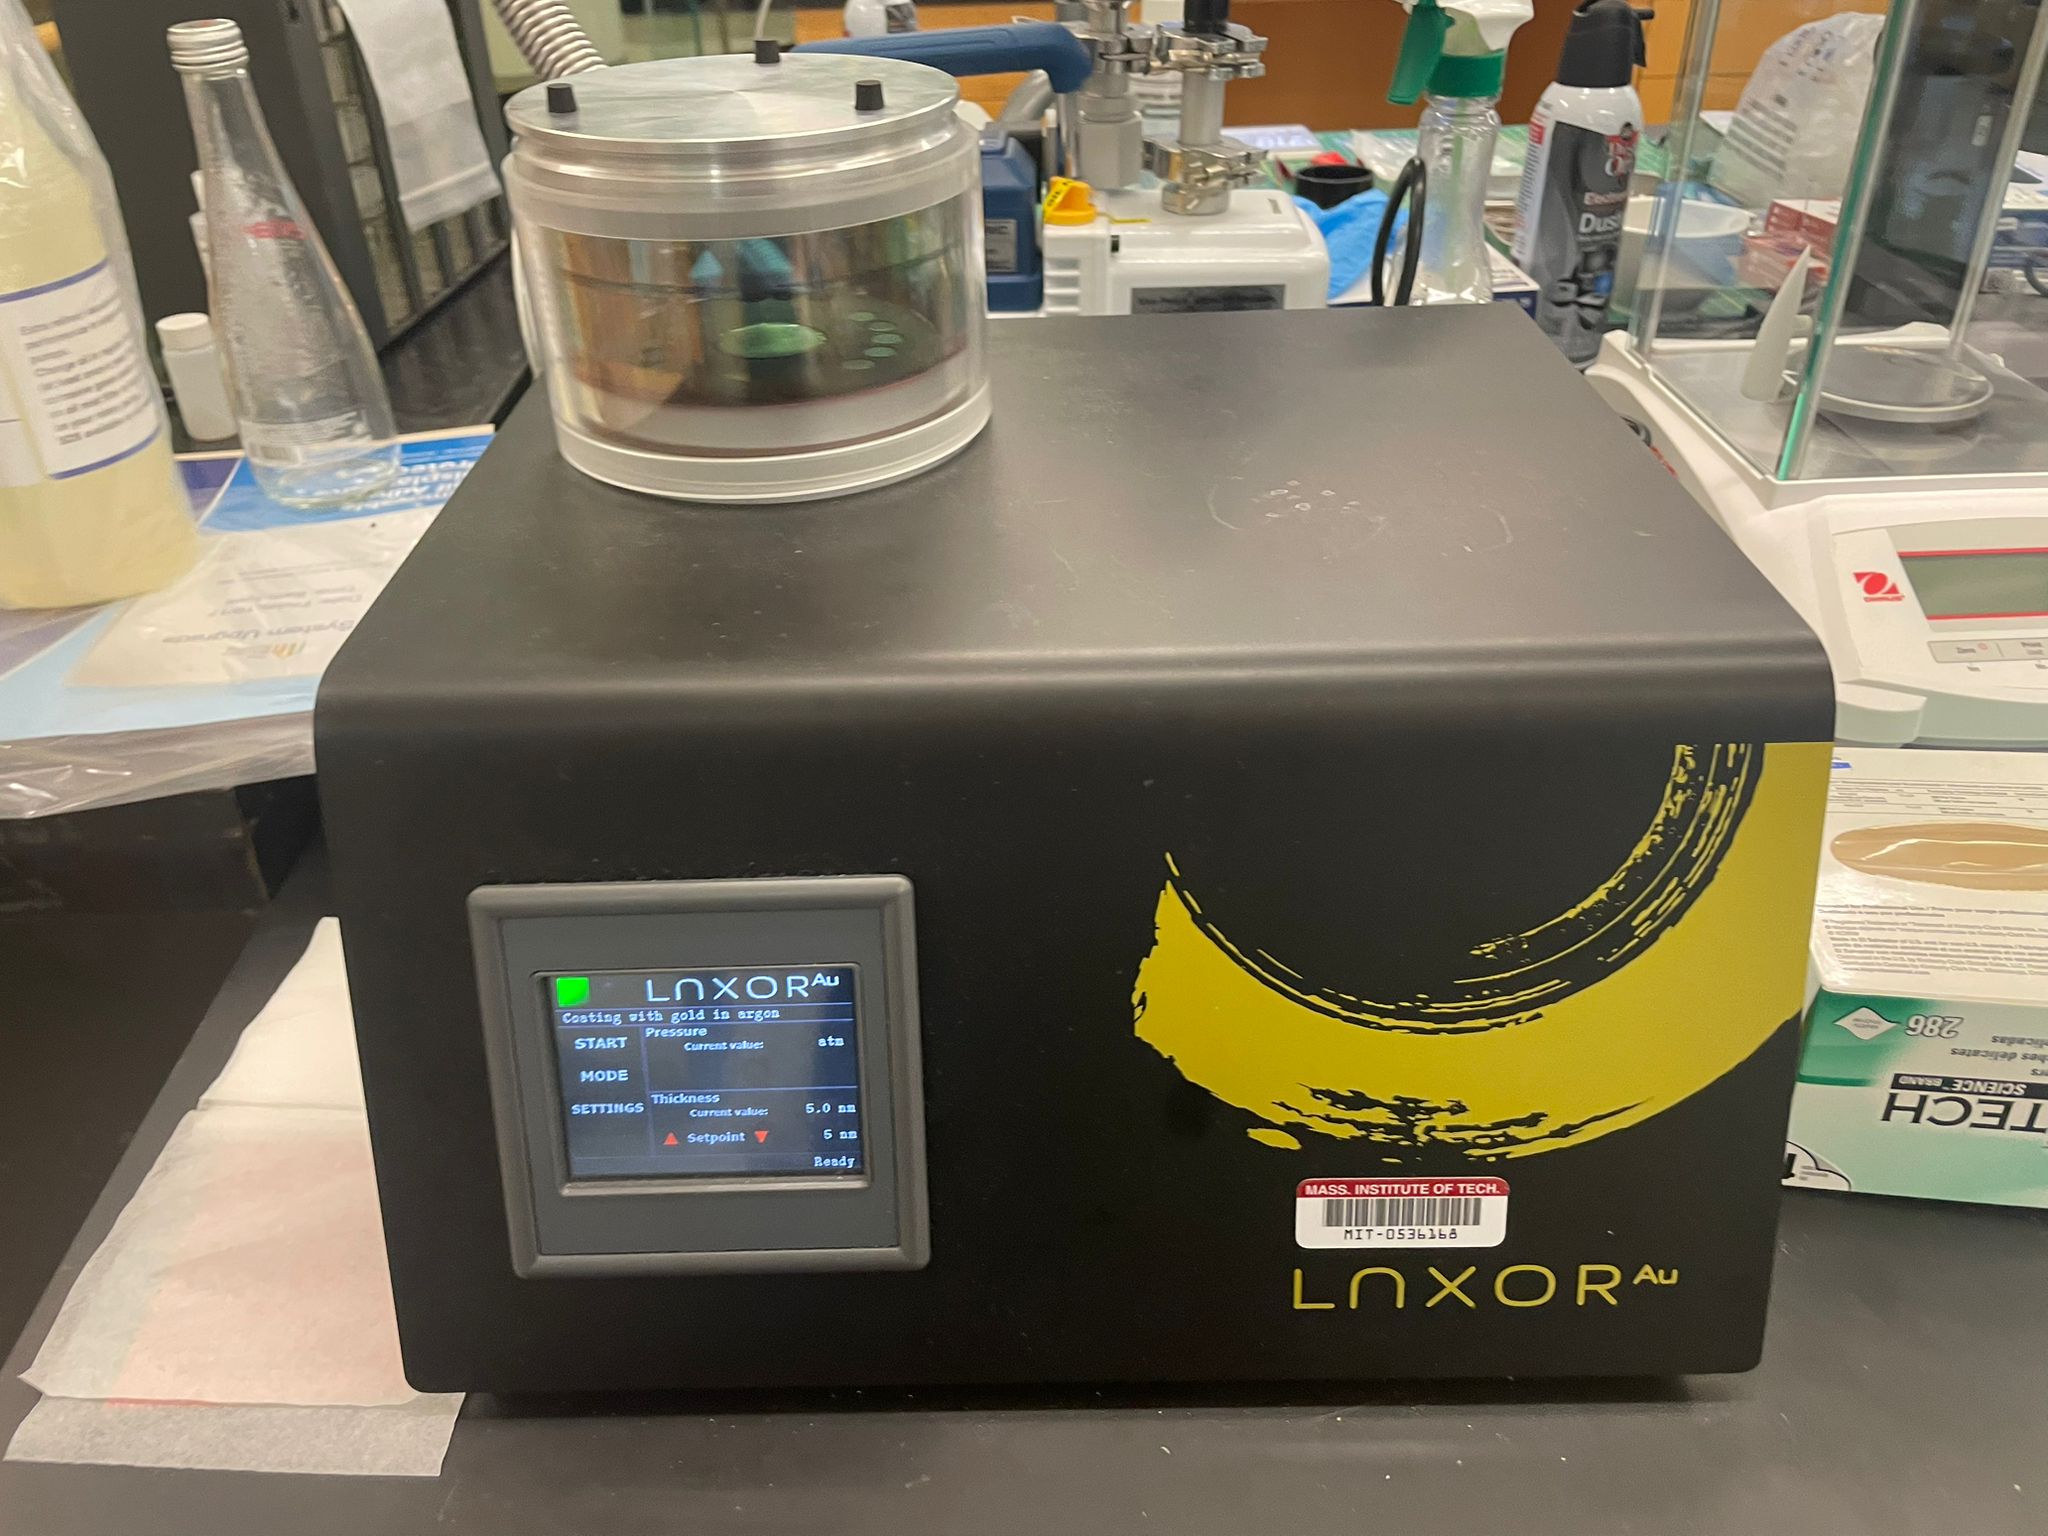
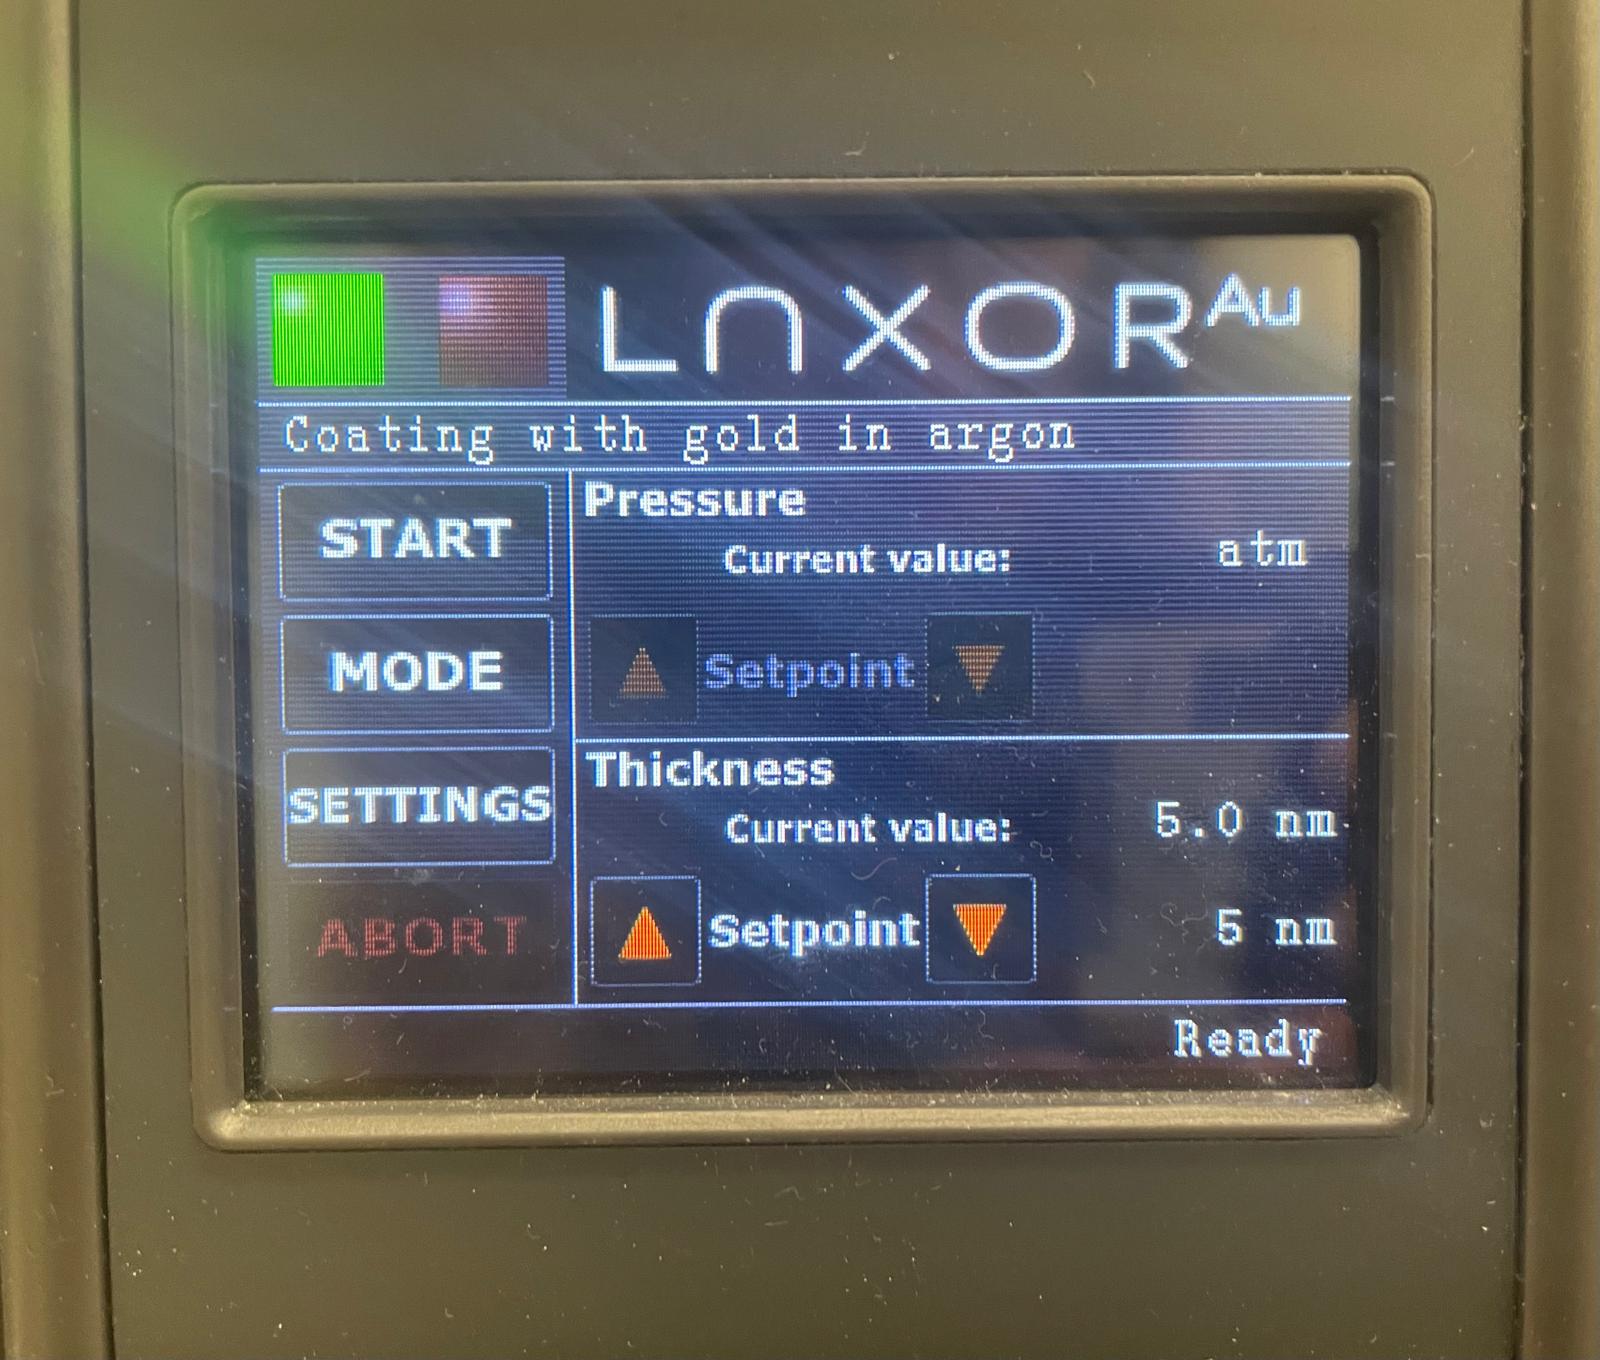
- Sputter coating: best for high-resolution imaging of insulating surfaces. Gold is common and highly conductive, but it adds a coating that can hide very fine surface features and complicate elemental analysis.
- Conductive bridge: copper tape, carbon tape, graphite paint, or silver paint can provide a partial path to ground. This works best when the area of interest is close to the conductive bridge.
Wet, Moist, And Biological Samples
Wet samples are risky in an SEM because water and other volatile liquids outgas under vacuum. Outgassing can cause poor images, vacuum errors, contamination, and microscope damage.
Common strategies:
- Dry the sample if preserving the wet structure is not important.
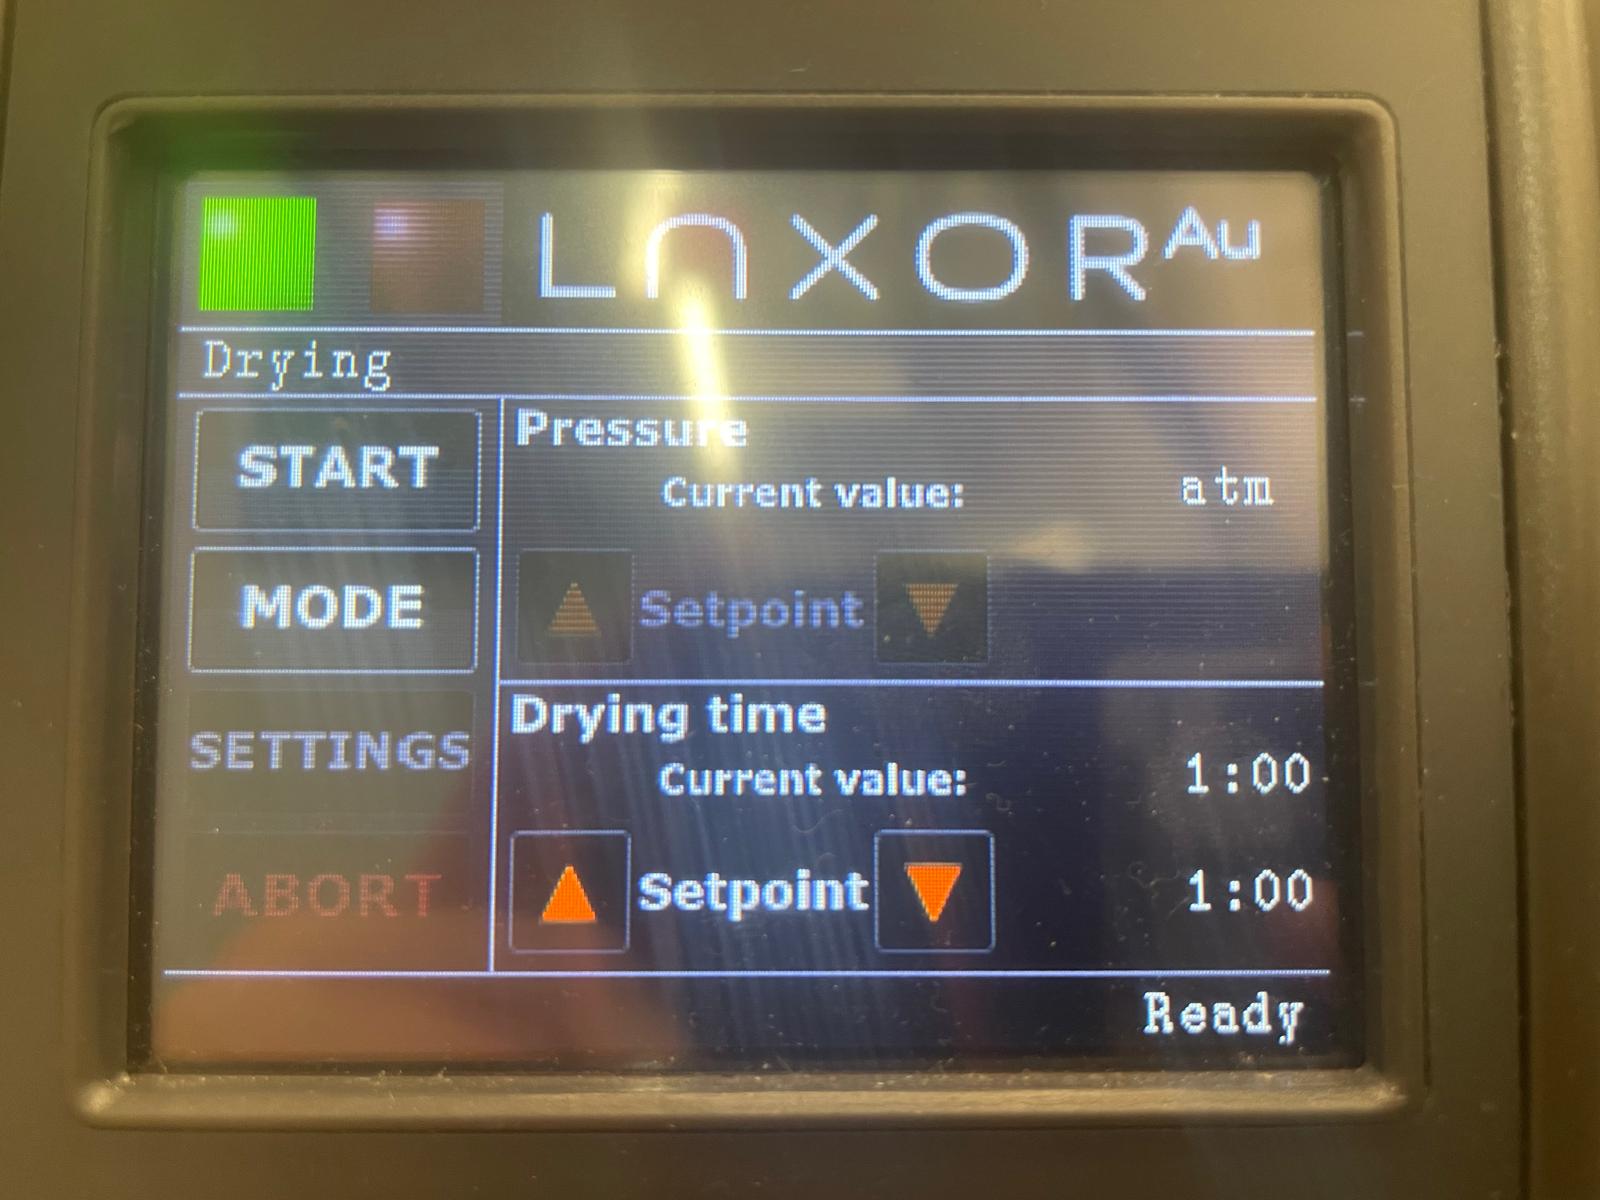
- Use the sputter coater drying/vacuum mode to test whether a sample visibly changes under vacuum before loading it into the SEM.
- Freeze the sample on the Phenom Pure cold stage if you need to preserve wet or heat-sensitive structure.
- Use a very small amount in low vacuum only when staff agree that the sample is appropriate and low moisture enough.
Data Processing And Analysis
SEM image files are saved in the active folder selected in the Phenom software. Before collecting images, set a project-specific label and folder so files are easy to find and interpret later.
For basic image analysis:
- Use the Gallery to review images, add scale measurements, and add notes.
- Save annotated images as new files.
- Keep the original image file when possible.
- Record detector, voltage, vacuum, magnification, working distance, and sample prep if those conditions matter to your interpretation.
Manufacturer Manuals
- Phenom XL user manual
- Phenom XL tensile stage manual
- Phenom XL all docs
- Phenom Pure user manual
- Phenom Pure temperature controlled stage manual
- Phenom Pure all docs
Links
Exercises
These exercises are shared SEM examples. The instrument-specific pages identify which exercise is best for training on each SEM.
- Level 1 - General training: Prepare and image a small piece of hair. Use the Phenom Pure or XL to load the sample, navigate with NavCam, focus in SEM, acquire images at several magnifications, and compare a cut end with a torn or broken end.
- Level 2 - EDS practice: Prepare salt and sugar on the same stub. Use morphology first, then EDS on the Phenom XL, to decide which is which.
- Level 2 - Non-conductive sample comparison: Image an uncoated non-conductive sample in low vacuum, then sputter coat a similar sample and compare resolution, charging, and surface contrast.
- Level 2 - Image analysis: Cut a thin slice of a roasted coffee bean, sputter coat it, and image pore structure. Estimate average cavity size from several images.
- Level 3 - Specialist training: Prepare a powder sample sparse enough for particle sizing. Acquire images suitable for measuring particle diameter and compare the result with a poorly dispersed sample.
- Level 3 - Specialist training: Use the Phenom Pure cold stage on a staff-approved wet or heat-sensitive sample. Document the freezing temperature, imaging behavior, and signs of frost, outgassing, or beam damage.