DMSE Breakerspace - Trained-user reference
DSX-1000 Digital Optical Microscope
Olympus · Routine imaging SOP. The canonical normal-use sequence in one place; use the DSX visual map on the reverse to locate controls taught in Level 1.
Standard Operating Procedure (SOP)
1 Instrument startup
- Wear nitrile gloves when handling samples, stage plates, objectives, or sample-prep tools.
- Switch the microscope on.
- Log on to the instrument workstation using your MIT Kerberos.
- Clear the stage of any samples or other materials.
- Start the DSX software and log on as Guest with no password.
- Acknowledge that it is safe for the stage and head to move.
- Use the manual focusing knob to lower the microscope stage.
- Load or change objectives if needed.
- Lower the microscope head into the tilt position using the button on the console or the software button.
2 Operation
- Place the sample on the stage.
- Remove gloves before using the keyboard, mouse, or instrument workstation.
- Use the manual focusing knob to bring the sample into rough focus.
- Use the joystick to move the stage and position the sample area under observation.
- Fine-tune focus by moving the zoom head with the console buttons, focus wheel, or software buttons.
- Characterize the sample as appropriate for your goals (see detailed operating instructions).
- Verify that files are saved where you intend.
- Wear gloves again before unloading or handling samples.
3 Instrument shutdown
- Save and copy any data you need.
- Remove your sample from the stage.
- Close the DSX software.
- Click yes to exit the microscope system and retract the head.
- Once the software fully closes, switch the microscope off.
- Log out of Windows.
- Place the dust cover on the microscope.
- Leave the stage, sample area, and workstation clean.
Decision required: Document the current save/copy view and confirm the final clearance state before technical completion.
DMSE Breakerspace - Olympus DSX-1000 Digital Optical Microscope
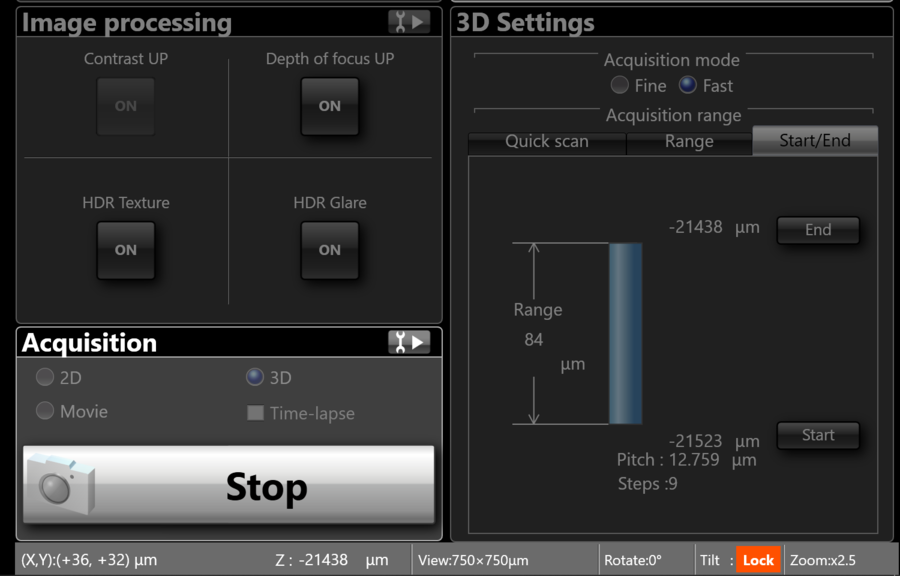
DSX acquisition visual map
Use this side to find the five acquisition functions taught in Level 1. Follow the SOP on the reverse for the canonical workflow.
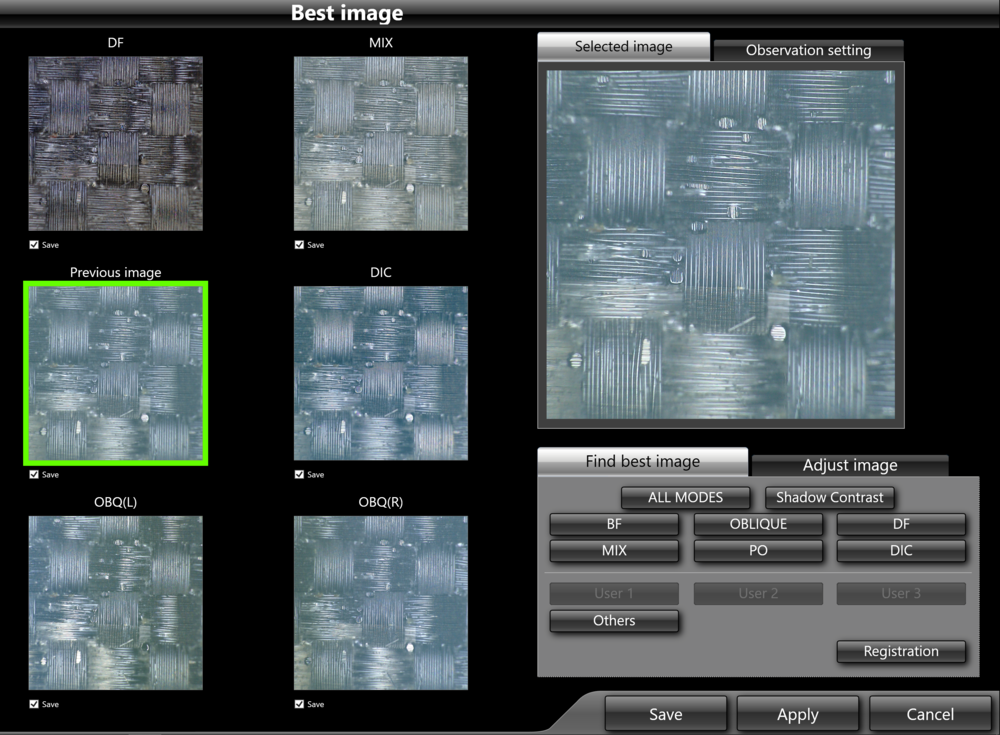
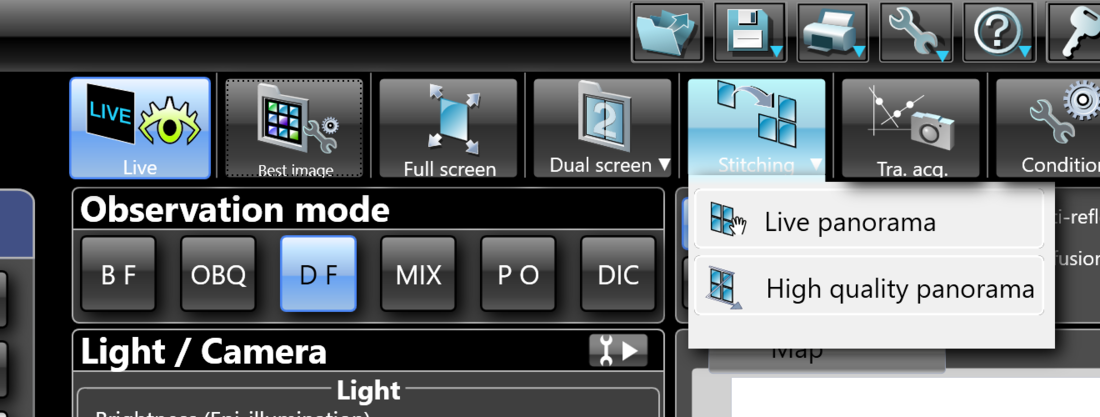
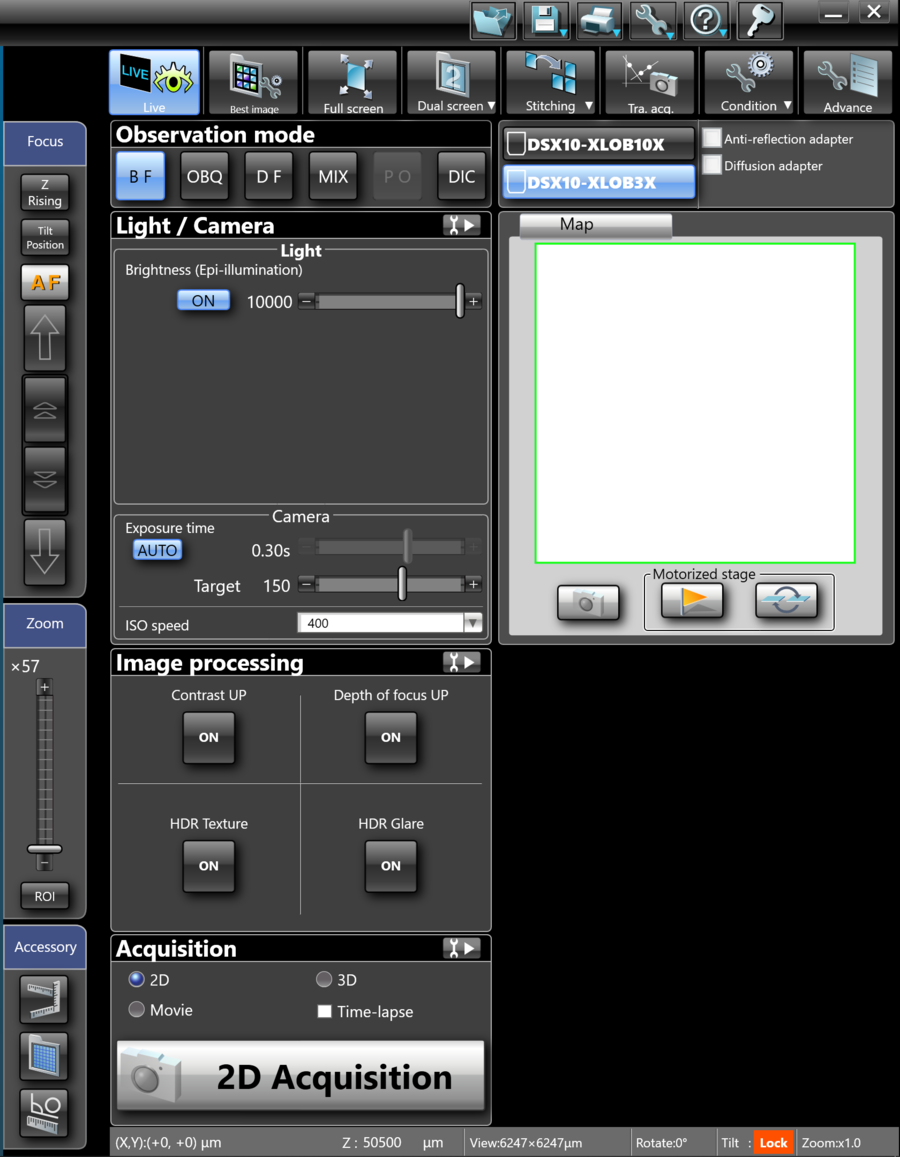
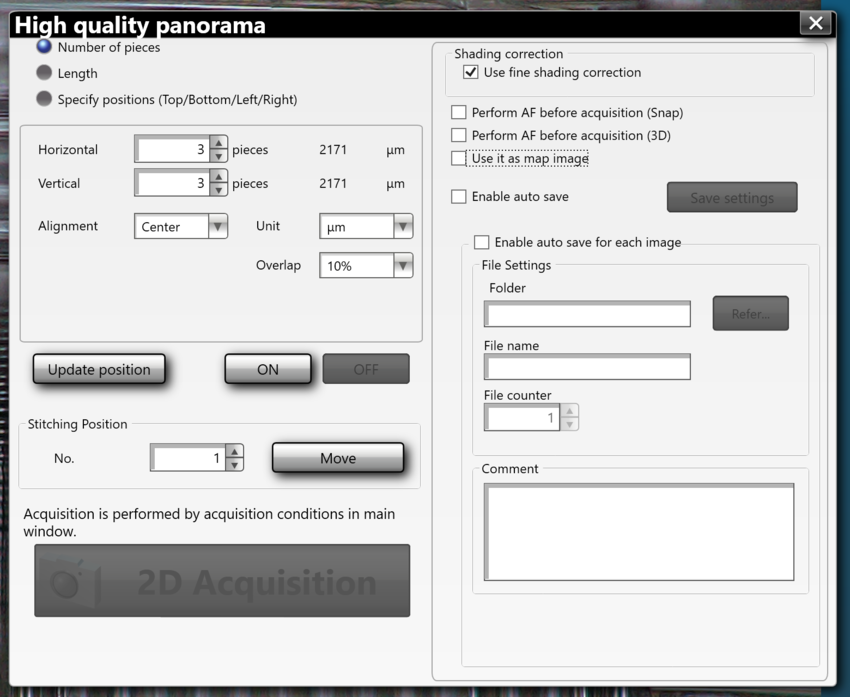
Find the five Level 1 acquisition functions
Follow 1–2 down the left, 3 in the center, then 4–5 down the right.
Immediate focus decision
Compare the same field before capture.
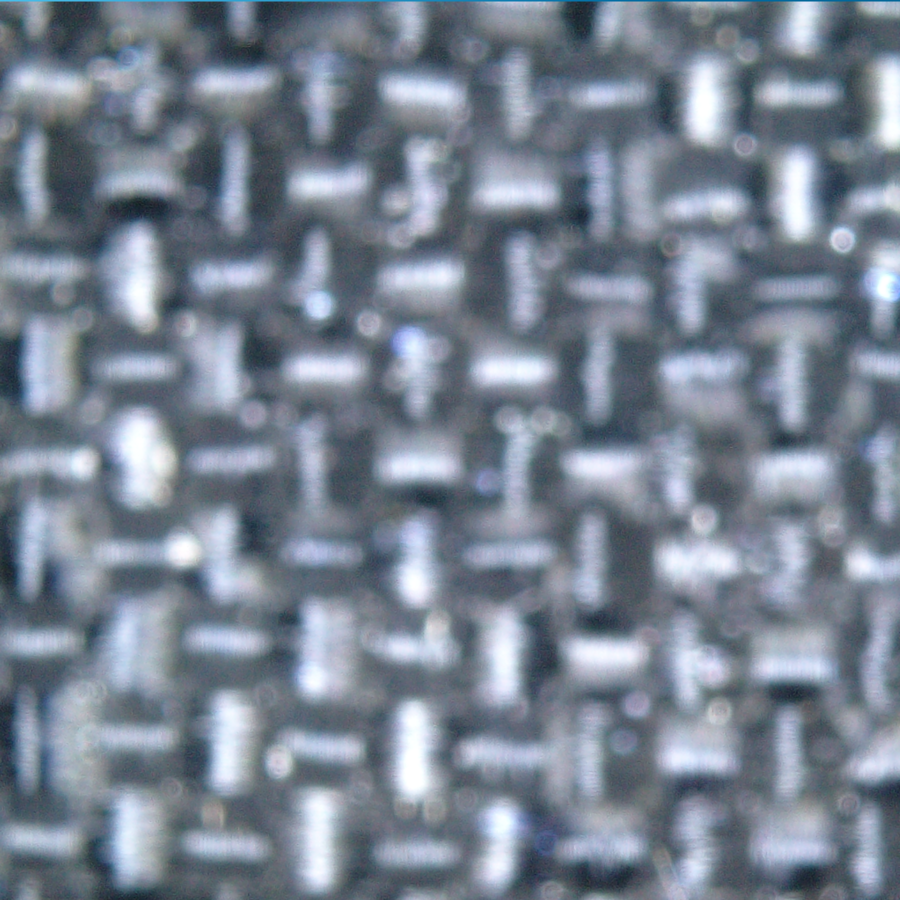
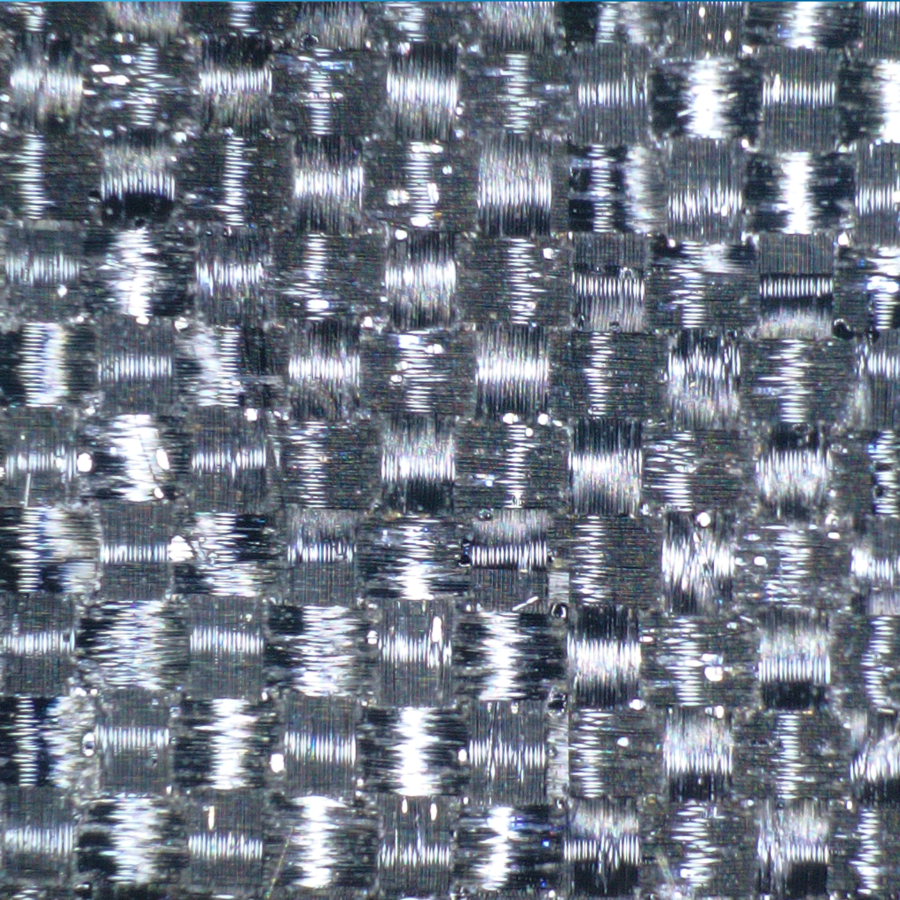
Before release: verify the five controls and Level 1 sequence at the instrument; approve the crops and focus pair; confirm save/copy and final clearance.